
Canon AE-1 Program User Manual: A Comprehensive Guide
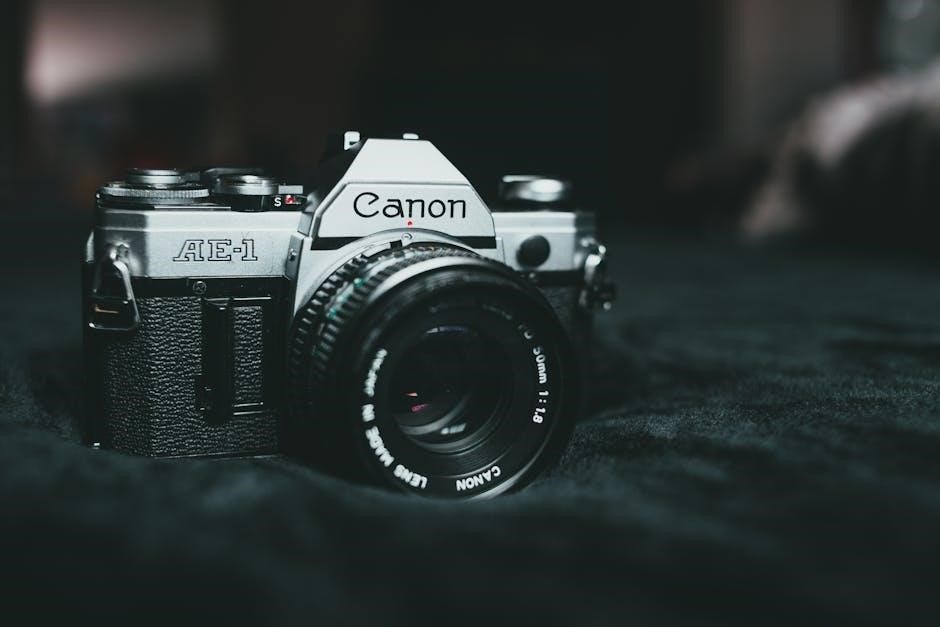
Welcome to the comprehensive guide for the Canon AE-1 Program, a beloved 35mm SLR camera. This manual offers detailed instructions, covering everything from basic operations to advanced features. Whether a novice or experienced photographer, learn to maximize the AE-1 Program’s capabilities.
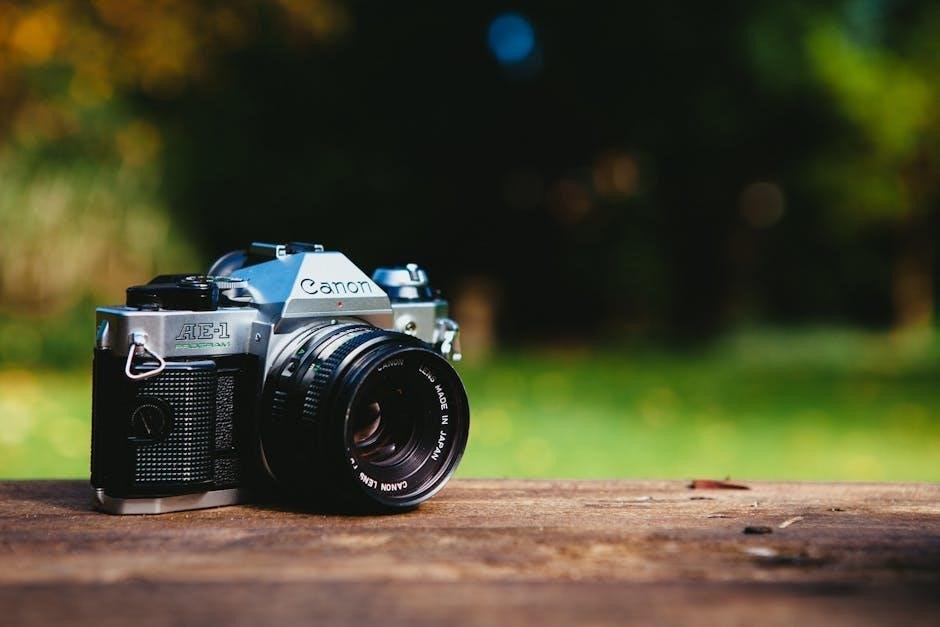
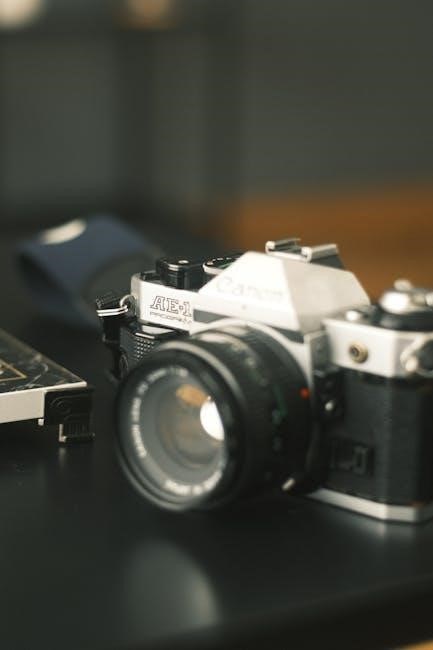
The Canon AE-1 Program, a landmark 35mm SLR, gained immense popularity for its user-friendly design and advanced features. Released after the original AE-1, it introduced Program AE mode, simplifying photography for many. This camera boasts an electronically controlled shutter and compatibility with Canon’s FD lens system, offering versatile shooting options. Its intuitive interface and robust build quality made it a favorite among amateur and professional photographers alike.
This user manual provides a comprehensive overview, guiding you through every aspect of the AE-1 Program. From loading film to mastering advanced techniques, this guide ensures you harness the full potential of this iconic camera. Discover how to capture stunning images with ease.
Key Features of the AE-1 Program
The Canon AE-1 Program boasts several key features that made it a standout camera. Its Program AE mode automatically selects both aperture and shutter speed for properly exposed images. Shutter-priority AE allows you to control shutter speed while the camera sets the aperture. A fully manual mode offers complete control over exposure settings. The AE-1 Program also features a bright viewfinder for easy focusing and composition.
Compatibility with Canon’s FD lenses provides access to a wide range of focal lengths and apertures. The camera’s electronic shutter ensures accurate and consistent exposures. Additionally, it supports various Canon Speedlites for enhanced flash photography. Its robust construction ensures durability and reliability.

Camera Overview and Components
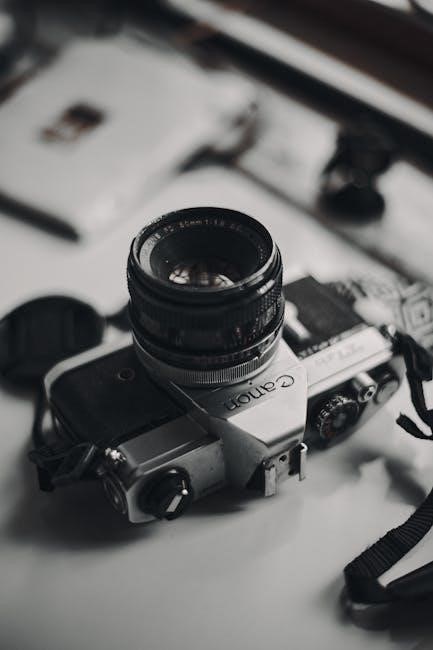
This section provides a detailed look at the Canon AE-1 Program’s physical components. We’ll explore the front, top, back, and bottom, highlighting key features and controls located on each part of the camera body.
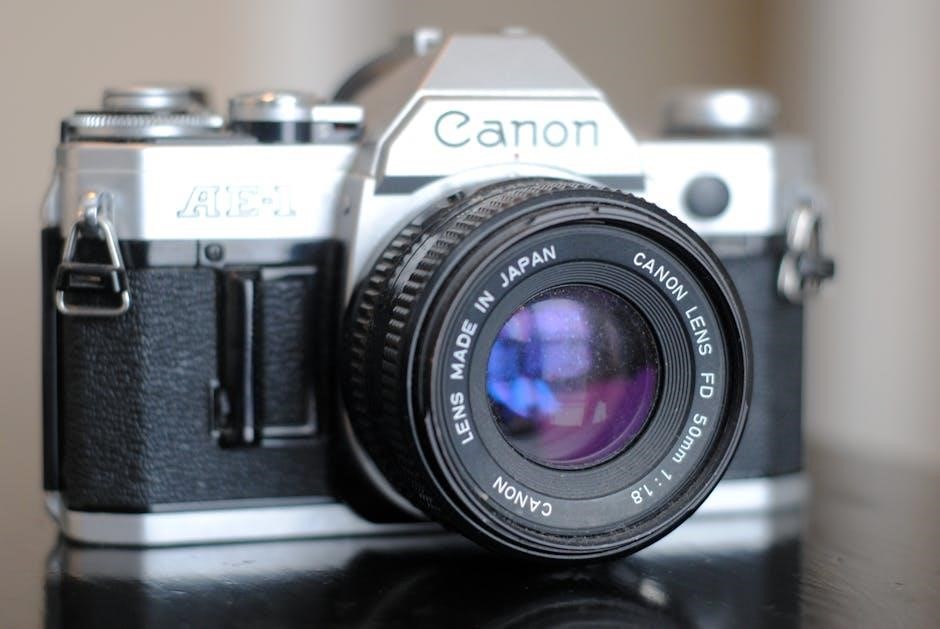
Front of the Camera: Lens Mount and Controls
The front of the Canon AE-1 Program is dominated by the lens mount, which accepts Canon FD lenses. To attach a lens, align the red dot on the lens with the corresponding dot on the camera body, insert, and twist until it clicks securely. A lens release button, typically located near the mount, allows for lens detachment. The front also houses the self-timer lever and the associated indicator lamp, allowing for timed shots. Depending on the lens, the aperture ring may be present, though in Program AE mode, it should be set to the ‘A’ mark for automatic operation.
Top of the Camera: Shutter Speed Dial and Mode Selector
The top of the Canon AE-1 Program features essential controls, including the shutter speed dial and mode selector. The shutter speed dial allows manual selection of shutter speeds, ranging from 2 seconds to 1/1000th of a second, plus a bulb (B) setting for long exposures. The mode selector offers various shooting modes: Program AE, Shutter-Priority AE, and manual mode. To use Program AE, set the dial to “Program.” Shutter-Priority AE is selected by setting the dial to the desired shutter speed, and the camera automatically chooses the aperture. Manual mode requires setting both shutter speed and aperture manually.
Back of the Camera: Viewfinder and Film Loading
The back of the Canon AE-1 Program houses the viewfinder and the film loading mechanism. The viewfinder provides a clear view of the scene, displaying crucial information such as the selected aperture and shutter speed, aiding in achieving proper exposure. To load film, open the back cover by lifting the film rewind knob. Insert the film cartridge into the film chamber, thread the film leader onto the take-up spool, and advance the film using the film advance lever until the film counter displays “1”; Ensure the film sprockets engage properly to prevent issues during shooting.
Bottom of the Camera: Battery Compartment and Tripod Socket
The bottom of the Canon AE-1 Program features the battery compartment and the tripod socket. The battery compartment, typically secured with a coin-slotted cover, houses the power source necessary for the camera’s electronic functions, including the light meter and shutter control. A functional battery is essential for the camera’s operation. The tripod socket allows the camera to be mounted on a tripod for stable shooting, especially in low-light conditions or when using slower shutter speeds. Using a tripod ensures sharper images and eliminates camera shake, enhancing overall image quality and clarity.
Operating Modes
The Canon AE-1 Program offers versatile shooting options through its various operating modes. These include Program AE, Shutter-Priority AE, Manual mode, and a dedicated mode for flash photography, catering to different photographic needs.
Program AE Mode
The Program AE mode on the Canon AE-1 Program is fully automatic, designed for ease of use and quick shooting in varying conditions. In this mode, the camera automatically selects both the aperture and shutter speed, optimizing exposure based on the available light. This feature makes it ideal for beginners or for situations where you need to react quickly without adjusting settings.
To use Program AE, simply set the mode selector dial to “Program.” The camera handles the technical aspects, allowing you to focus on composition and capturing the moment. This mode is especially useful when you’re unsure about the best settings or when lighting conditions change rapidly.
Program AE ensures properly exposed images with minimal effort;
Shutter-Priority AE Mode
Shutter-Priority AE mode grants you control over the shutter speed while the camera automatically selects the appropriate aperture. This mode is useful when you want to control motion blur or freeze action. Select a faster shutter speed to freeze a fast-moving subject or a slower shutter speed to create motion blur for artistic effects.
To use Shutter-Priority AE, set the mode dial to “Tv” (Time Value). Then, choose your desired shutter speed using the shutter speed dial. The camera will automatically adjust the aperture to achieve correct exposure. This mode offers a balance between automation and creative control, perfect for capturing dynamic scenes.
Experiment with different shutter speeds to achieve your desired visual effect.
Manual Mode
Manual mode provides complete control over both the shutter speed and aperture settings, offering the greatest creative flexibility. In this mode, you are responsible for setting both the shutter speed and aperture based on your light meter readings or your artistic vision.
To use Manual mode, set the mode dial to “M”. Adjust the shutter speed using the shutter speed dial and the aperture by rotating the aperture ring on the lens. Use the light meter in the viewfinder to guide your settings. Aim for a “0” reading for correct exposure.
Manual mode is essential for challenging lighting situations or when you want to override the camera’s automatic settings. Mastering manual mode allows you to achieve precise control over the final image.
Flash Photography with AE
The Canon AE-1 Program offers automatic flash photography with compatible Canon Speedlites. When using a dedicated flash, the camera can automatically set the correct aperture for proper exposure. To use AE flash, attach a compatible Canon Speedlite to the hot shoe.
Set the lens aperture to the “A” setting. When the flash is charged, the camera will automatically set the appropriate aperture. The shutter speed is typically fixed at 1/60th of a second for flash synchronization.
Check the flash ready indicator in the viewfinder. If the flash is not ready, wait for it to charge. With AE flash, you can achieve well-exposed flash photographs with ease.
Remember to consult your flash unit’s manual for specific instructions and recommended settings. Experiment with different flash techniques, such as bounce flash, to enhance your images.
Basic Operation
Mastering the Canon AE-1 Program starts with understanding fundamental steps. This section covers loading film, setting ISO, focusing techniques, and capturing your first picture. Follow these simple instructions for a smooth start.
Loading Film
To begin your photographic journey with the Canon AE-1 Program, properly loading the film is essential. Start by opening the camera back, typically done by lifting and pulling the rewind knob. Insert the film cartridge into the film chamber, ensuring it sits securely.
Next, pull the film leader across the camera body and insert it into one of the take-up spool slots. Advance the film using the film advance lever, typically located on the camera’s top. Make sure the film sprockets engage with the perforations on the film.
Close the camera back, and continue advancing the film until the frame counter displays ‘1’. This ensures any exposed film from loading is moved past. With the film loaded correctly, you’re now ready to set the ISO and start capturing memories.
Setting ISO
Setting the correct ISO on your Canon AE-1 Program is crucial for proper exposure. The ISO, or film speed, indicates the film’s sensitivity to light. To set the ISO, locate the ISO dial, usually found around the shutter speed dial on top of the camera.
Lift and turn the outer ring of the dial until the desired ISO number aligns with the index mark. Consult your film’s packaging to determine the appropriate ISO. Common ISO values include 100, 200, 400, and 800.
Matching the ISO setting to your film ensures the camera’s light meter accurately calculates exposure settings in Program AE, Shutter-Priority AE, or Manual modes. Incorrect ISO settings can lead to overexposed or underexposed images. Always double-check your ISO setting before shooting to achieve optimal results.
Focusing
Achieving sharp focus with the Canon AE-1 Program involves using the camera’s focusing screen and lens. The AE-1 Program employs a manual focusing system, demanding careful adjustment for clear images. Look through the viewfinder and locate the focusing screen at the center.
Most FD lenses have a focusing ring, typically the larger ring closest to the camera body. Rotate the focusing ring until the image in the focusing screen appears sharp and clear. The focusing screen often features a split-image rangefinder or microprism collar to aid in precise focusing.
When the split image aligns or the microprisms disappear, the subject is in focus. Pay close attention, as slight adjustments can significantly impact sharpness. For static subjects, take your time. For moving subjects, anticipate their movement and pre-focus to capture the moment. Practice improves focusing speed and accuracy.
Taking a Picture
Taking a picture with the Canon AE-1 Program is a straightforward process once you’ve loaded film, set the ISO, and focused. First, ensure the camera is set to your desired shooting mode: Program AE, Shutter-Priority AE, or Manual. In Program AE, the camera automatically selects the aperture and shutter speed.
For Shutter-Priority AE, you choose the shutter speed, and the camera sets the aperture. In Manual mode, you control both. Next, compose your shot through the viewfinder. Gently press the shutter button halfway down to activate the light meter.
The viewfinder display will show the recommended aperture and shutter speed (in Program and Shutter-Priority modes). If satisfied, press the shutter button fully to take the picture. After taking the shot, advance the film lever to prepare for the next photo. Remember to listen for the satisfying ‘click’ and whir of the camera.
Advanced Features
Explore the advanced features of your Canon AE-1 Program, including exposure compensation for fine-tuning your images. Learn about utilizing Canon Speedlites for enhanced flash photography and depth of field preview for creative control;
Exposure Compensation
The Canon AE-1 Program’s exposure compensation feature allows you to manually override the camera’s automatic exposure settings. This is particularly useful in situations where the camera’s light meter may be fooled, such as when shooting scenes with strong backlighting or predominantly light or dark subjects. By adjusting the exposure compensation dial, you can tell the camera to either increase or decrease the amount of light it lets in, resulting in a brighter or darker image, respectively. This gives you greater control over the final look of your photographs, ensuring they match your creative vision, even in challenging lighting conditions. Experiment with different settings to achieve the desired effect.
Using Canon Speedlites
The Canon AE-1 Program is compatible with a range of Canon Speedlites, offering enhanced flash photography capabilities. When using a Speedlite, the camera automatically sets the shutter speed to 1/60th of a second. For optimal results, use FD lenses set to the ‘A’ mark, which allows the camera to control the aperture automatically in conjunction with the flash. Some Speedlites offer features like TTL (Through-The-Lens) metering, providing more accurate flash exposure. Consult your Speedlite’s manual for specific instructions and compatibility details. Experiment with different flash settings and positions to achieve desired lighting effects, whether you’re filling shadows or creating dramatic highlights. Utilizing external flash expands creative possibilities.
Depth of Field Preview
The Canon AE-1 Program features a depth of field (DOF) preview function, enabling you to visualize the area of sharpness before taking a picture. To activate DOF preview, locate the dedicated button or lever on the camera body, often near the lens mount. Pressing this button stops down the lens aperture to the selected f-stop, simulating the actual depth of field in the final image. Observing the viewfinder, you’ll notice changes in the image’s sharpness. This allows you to assess whether the desired elements are in focus. Using DOF preview helps make informed decisions about aperture settings. Wider apertures yield shallower DOF, while narrower apertures increase it.

Troubleshooting
This section addresses common problems encountered while using the Canon AE-1 Program. It offers solutions to help resolve issues related to film loading, exposure, focusing, and other operational aspects, ensuring a smooth shooting experience.
Common Issues and Solutions
Encountering issues with your Canon AE-1 Program? Let’s address some common problems. Film not advancing properly can stem from incorrect loading; ensure the film leader is securely attached to the take-up spool. If the shutter doesn’t fire, check the battery; the AE-1 Program relies on battery power for its electronic shutter.
Exposure problems, such as over or underexposed images, may arise from incorrect ISO settings or malfunctioning light meter. Clean the battery contacts to ensure proper power delivery. Also, inspect the lens for any obstructions that might affect image quality. Should the viewfinder appear dark or blurry, adjust the diopter correction.
If the camera locks up, try gently resetting it by removing the battery for a few minutes. Remember, regular maintenance is key to preventing many of these issues. When using flash, confirm compatibility and proper synchronization to achieve optimal results.
Maintenance and Care
Proper maintenance ensures longevity for your Canon AE-1 Program. Regular cleaning, correct storage, and occasional checks will keep your camera in optimal condition, preserving its functionality for years to come.
Cleaning the Camera
Maintaining a clean Canon AE-1 Program is crucial for optimal performance and longevity. Begin by gently removing any loose dust or debris from the camera body using a soft brush or air blower. For the lens, employ a specialized lens cleaning cloth and solution, applying gentle circular motions to remove smudges and fingerprints. Avoid harsh chemicals or abrasive materials that could damage the delicate lens coatings.
Pay close attention to the viewfinder, ensuring it is free from dust particles that may obstruct your view. The film compartment should also be regularly cleaned to prevent dust from affecting your photographs. By following these cleaning practices, you can ensure clear images and reliable operation. Remember to always handle your camera with care during cleaning.
Storage Tips
Proper storage is essential for preserving your Canon AE-1 Program when not in use. Firstly, remove the battery to prevent corrosion and potential damage to the camera’s internal components. Store the camera in a cool, dry place away from direct sunlight and extreme temperatures, as these can harm the film and electronic parts.
Use a camera bag or case to protect it from dust, moisture, and physical impacts. If storing for an extended period, consider using silica gel packets to absorb any excess moisture within the storage container. Avoid storing the camera in humid environments like bathrooms or damp basements. By following these storage tips, you can ensure your AE-1 Program remains in excellent condition, ready for your next photographic adventure. Always handle with care when retrieving from storage.